Happy May!
Thank you for visiting. This post may contain affiliate links to recommended products at no extra cost to you. Read our Disclosures and Terms of Use. Don't miss out again, become a Reader here <--it's FREE.
May brings flowers and Mother’s Day, hooray! Let’s get personal for a quick minute and talk about moms. I promise to leave time for crafting. I think my mom is the most wonderful woman, and I’m so thankful to be able to call her mom. I think of her life, and what she has experienced and am amazed at her strength. I assume most people feel this way about their mother’s because life isn’t always a piece of cake and mothers are the ones in charge of keeping it all together with a cherry on top. I’m in awe to think that I am now a mother with the task of keeping it all together. It scares me to think I may not be strong enough to handle such a calling, and yet I feel so blessed to have the challenge. I am so thankful for my two kiddos and for the honored title of Mom! Mother’s are amazing and make every child’s day special. We hope you have a Happy Mother’s Day! Love, Katie & the Kiddos
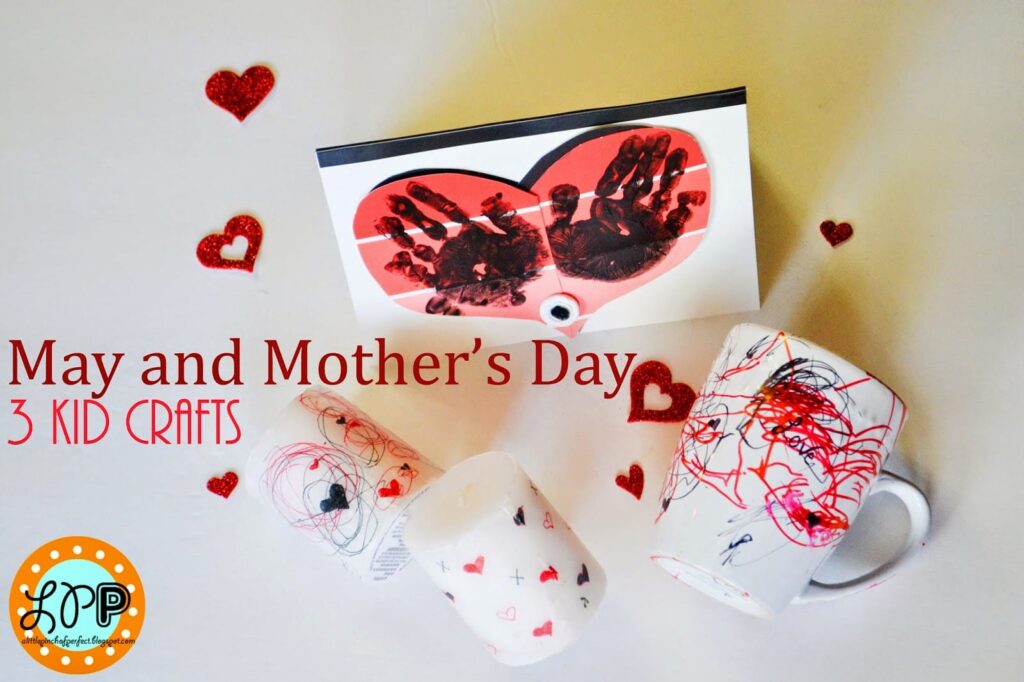
Now, to the crafts. My kids aren’t in school yet, so I don’t get the fun school project surprises yet. Since I was picking out my own gifts this year (kind of silly, I know 🙂 I wanted to choose something practical and cute that both kids could participate in making. With some trial and error, we figured out how to make paper wrapped candles, we baked some cups (did you think I was going to say cookies?) and we designed a card. Put them all together and you have the perfect kid made Mother’s Day present!

Supplies:
White candle
Tissue paper
Waxed paper
Markers or watercolors
Hair dryer/heat gun
Tape
Directions:
1. Cut tissue paper and wax paper to size so they fit perfectly around your candle.
2. Decorate your tissue paper using markers or watercolor.
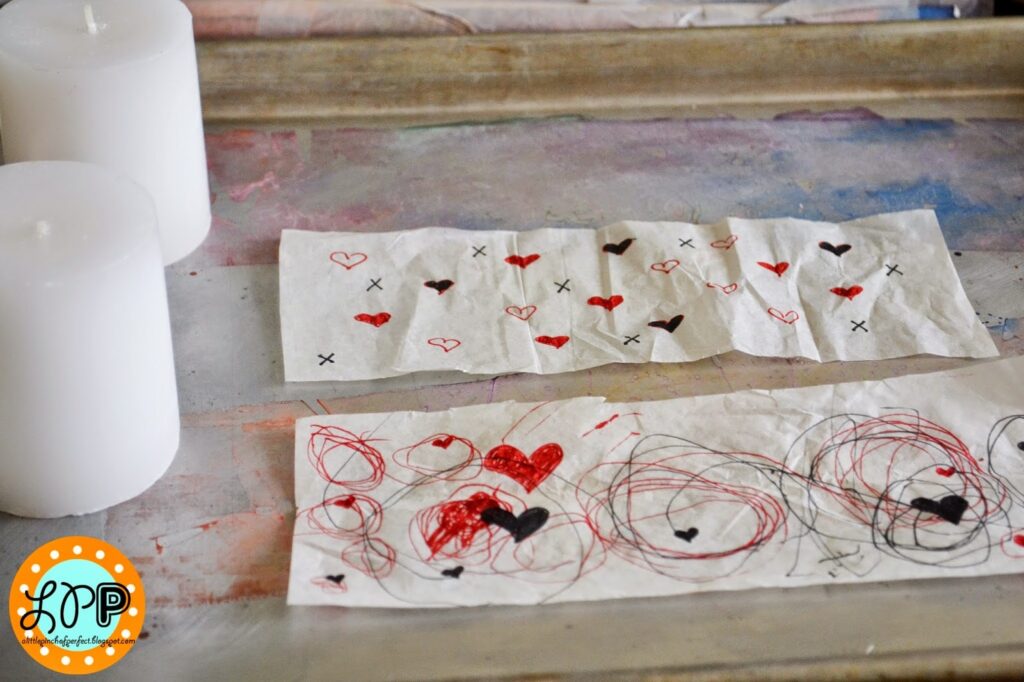
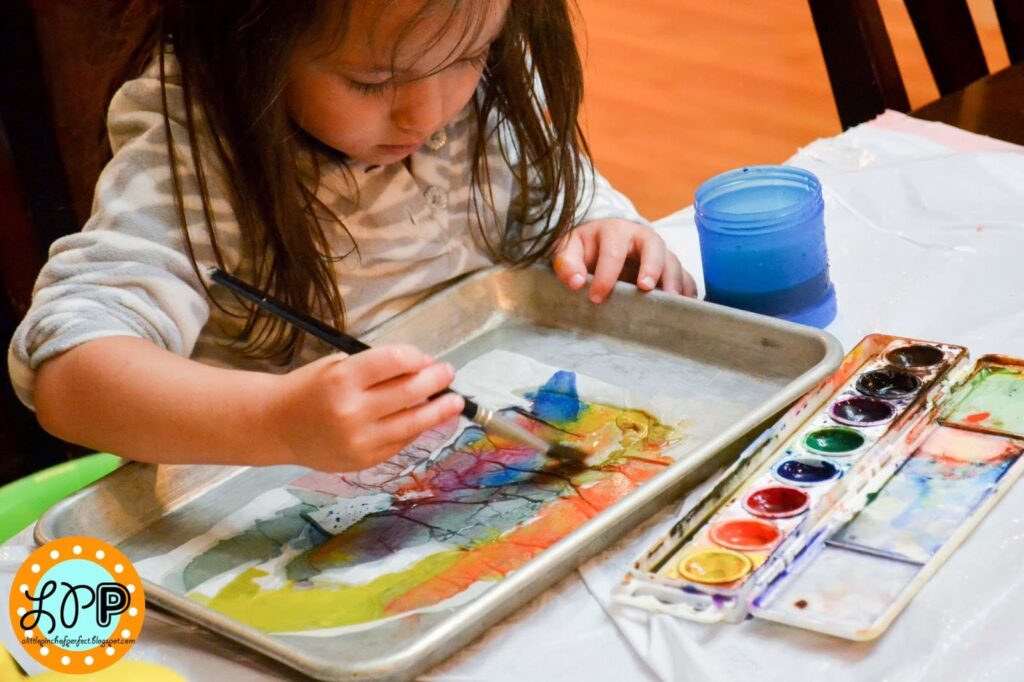
If you are using watercolor I recommend using a soft brush and light brush strokes to avoid ripping the paper. I had to remind Ms. Tiger to brush softly. She did pretty good, but still ended up with a few holes (which actually looked pretty cool on the candle). Let your tissue paper dry before continuing.
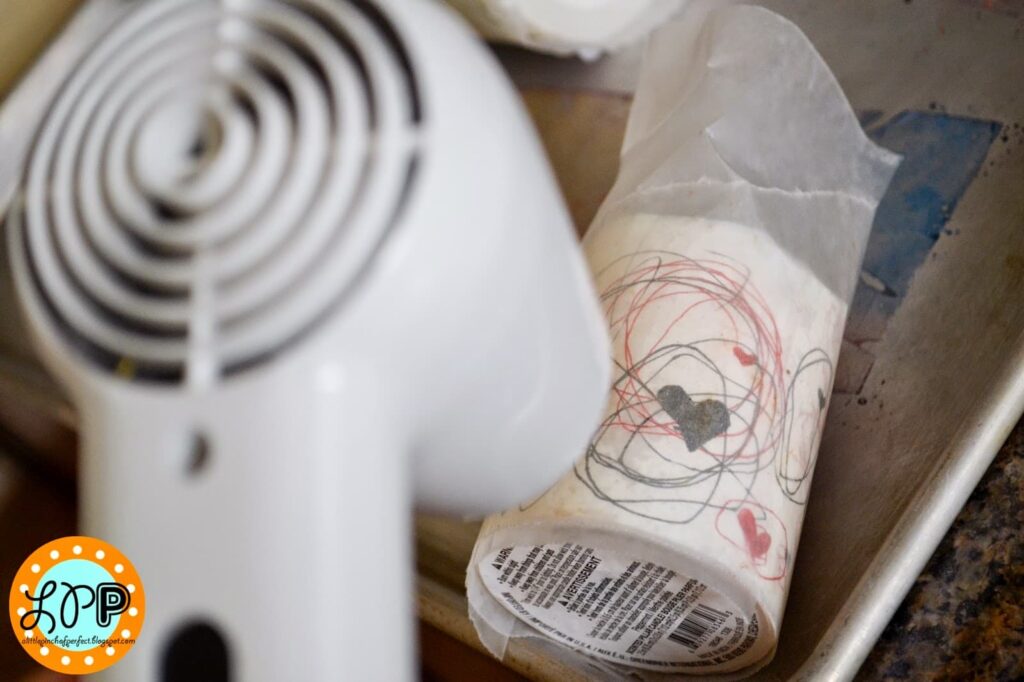
3. Wrap the tissue paper around your candle. Then wrap the waxed paper around your candle. Use some tape to secure the wax paper.
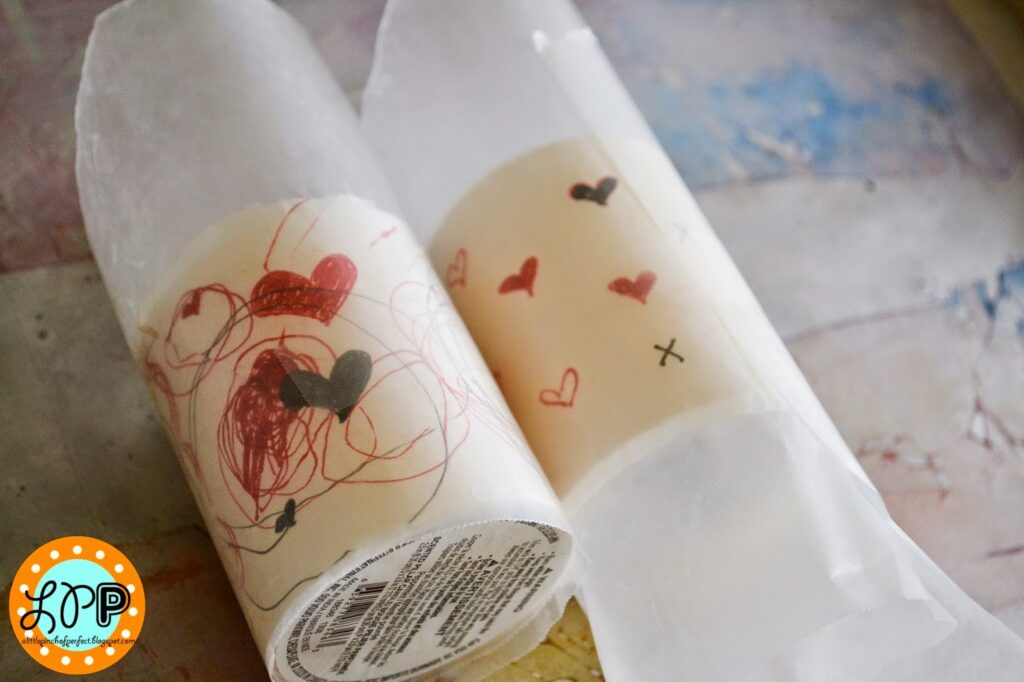
4. Use a blow dryer to heat the candle so the tissue paper sticks to the candle. You should be able to see it adhere. Careful, it does get a bit hot. The tissue paper will look darker when it sticks. Make sure to heat all around your candle.
5. Remove the wax paper from the candle. The tissue paper should be stuck to the candle. If you notice a few spots that aren’t melted on, use the blow dryer directly on those spots. Once the paper is all adhered, you are done.
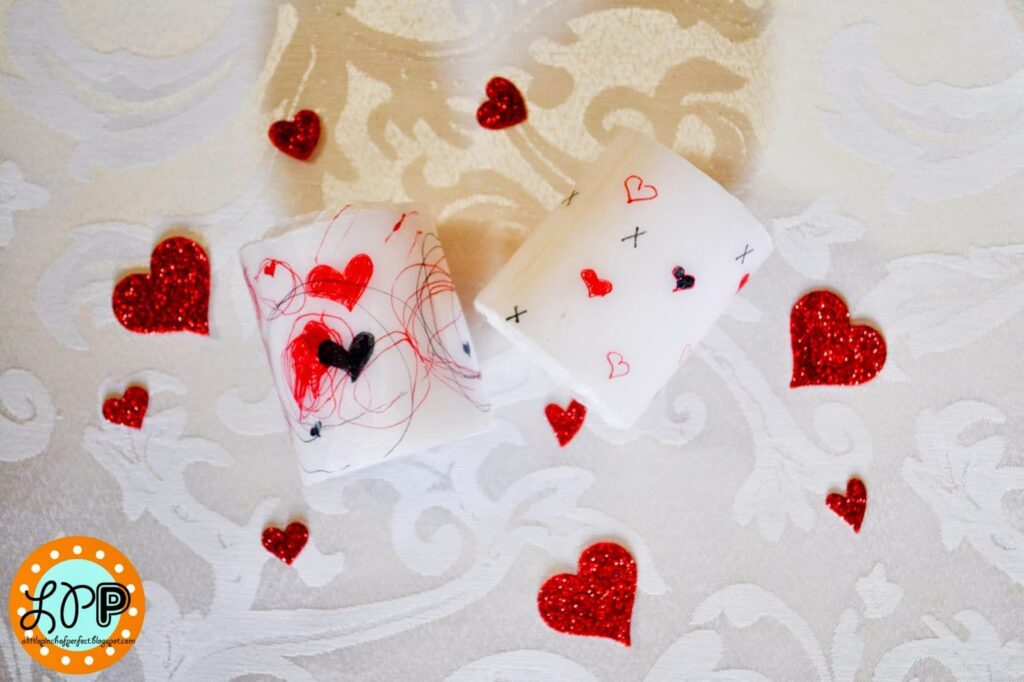 |
| Marker Candle |
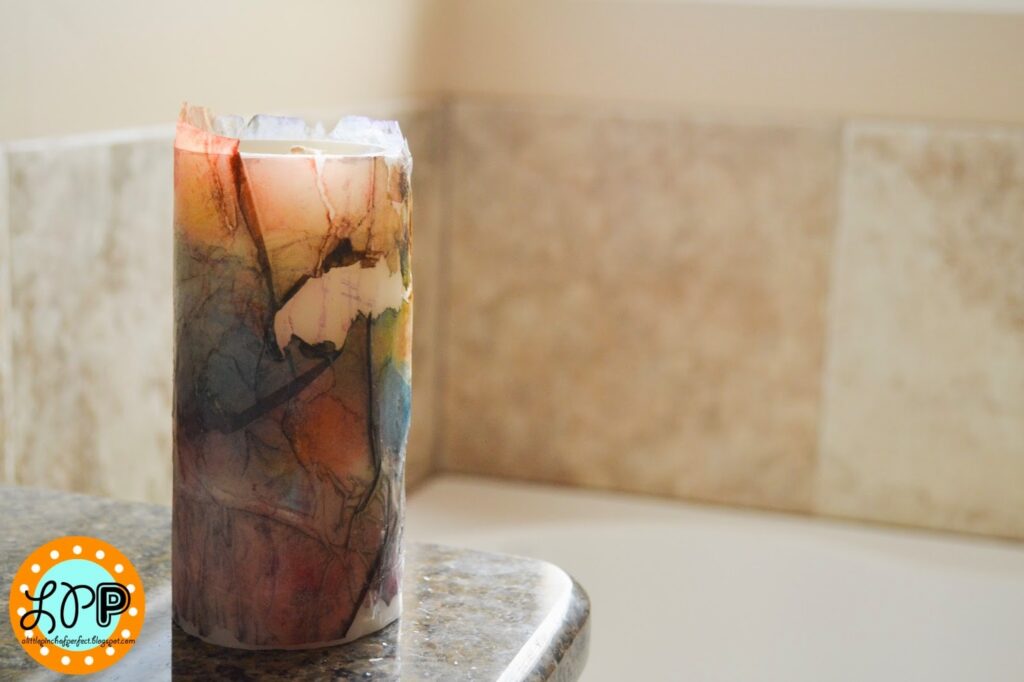 |
| Water Color Candle |
I originally found this craft on Pinterest, but it didn’t include the tissue paper. It didn’t turn out as bright which is why we added the tissue paper.
Supplies:
Ceramic cup
Permanent marker
Update: the black stayed on, but the red marker mostly washed off in the dishwasher. I have heard that oil based permanent markers work great.
Directions:
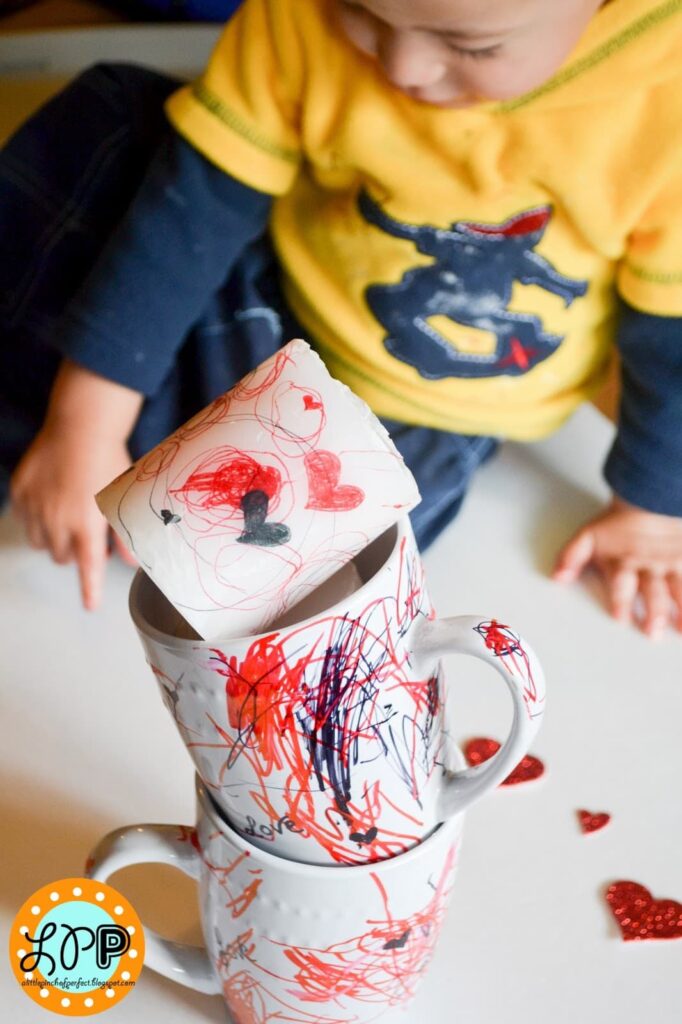
1. Use permanent markers to color on cup. We purchased our cups from the dollar store, and it worked great. It was a microwave and dishwasher safe cup.
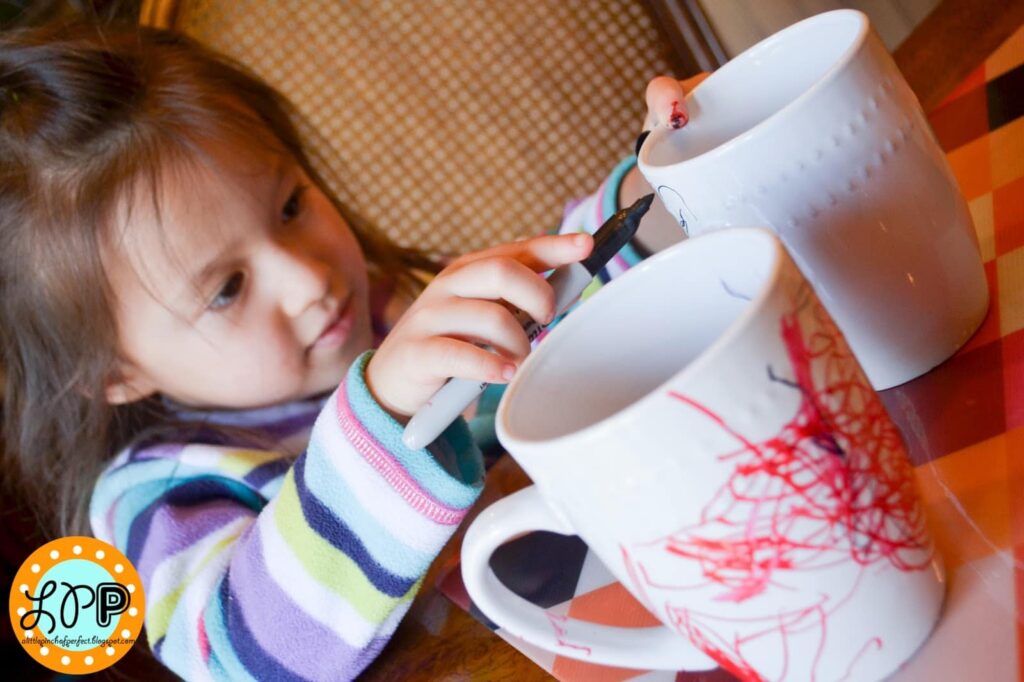
2. Bake cup at 350 degrees for 30 minutes and your done.
I am in love with the cups we made and I’m looking forward to Mother’s Day so I can finally use them.

Supplies:
Paint
Paint samples or Colored paper
Tissue paper
Small hole punch
Scissors
3″ piece if pipe cleaner
Button
Blank card
Directions:
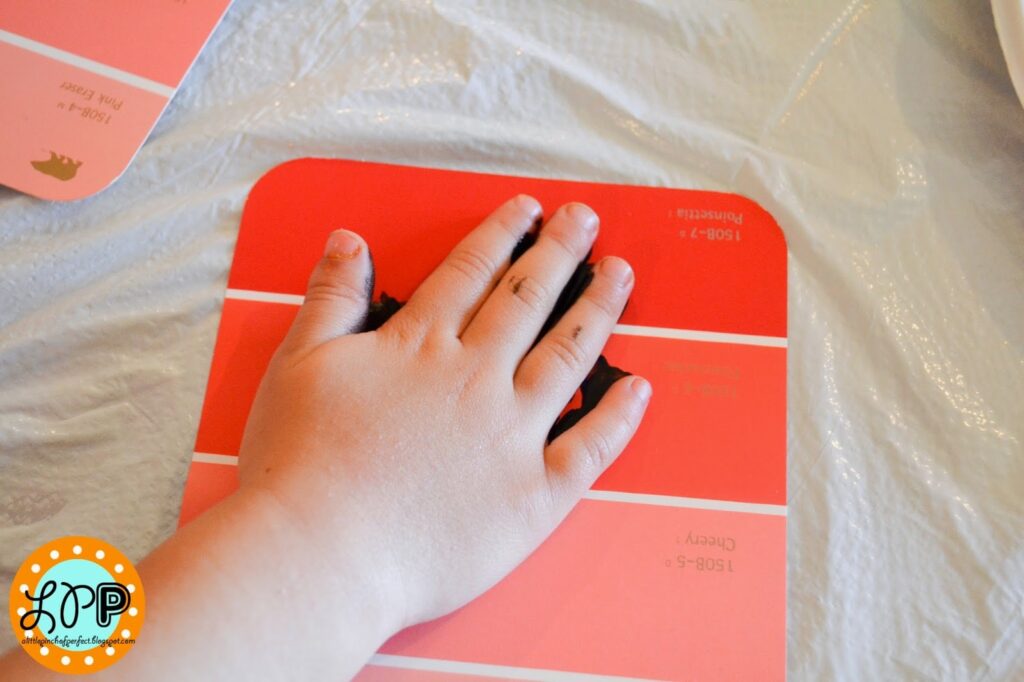
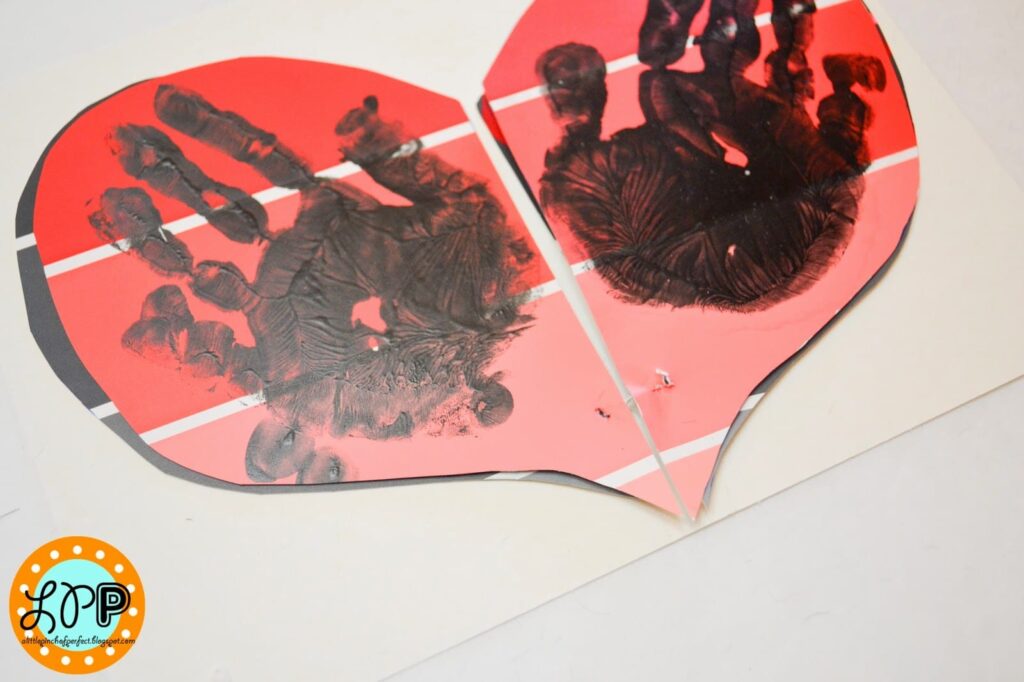
1. Cover kiddos hand with paint and make a left and a right hand print. I had Ms. Tiger keep her fingers together to make sure the prints would make a heart shape. Mr. Tickles spread his fingers out, but his hands are smaller so his prints worked fine. Let hand prints dry.
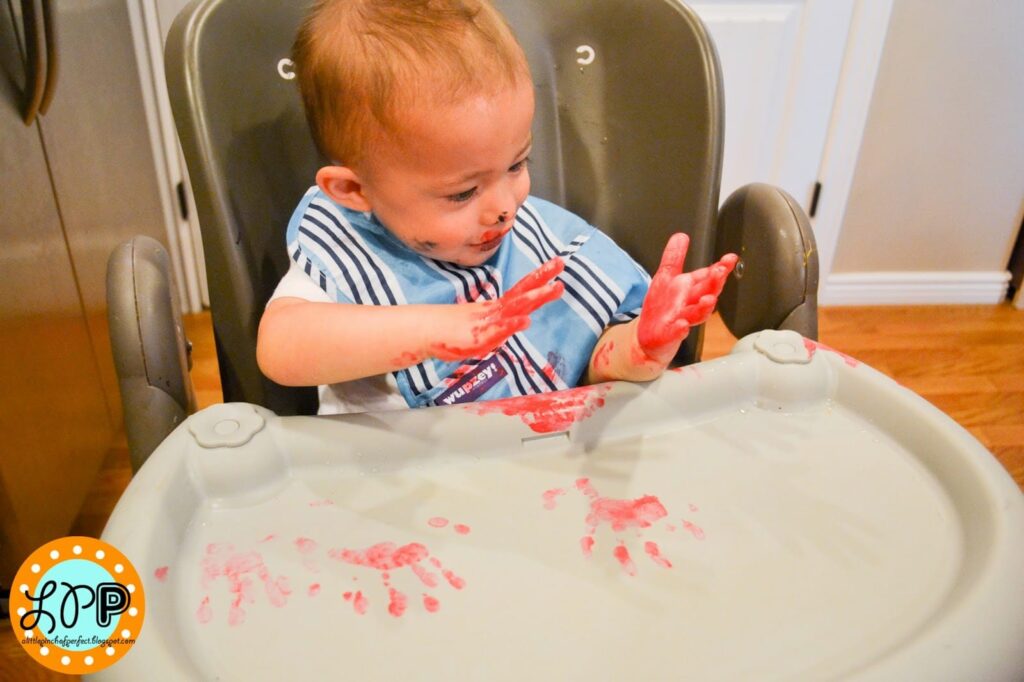 |
| Hand Prints Everywhere |
You know how it’s hard to get the perfect kiddo hand print? Here is our awesome discovery. If you use paint samples to make hand prints, you can wash off the paint and retry the hand print as many times as needed. Awesome right!?! Just try not to get water on the back of the paint sample. I washed off ours in the sink, then used a towel to dry them off. We were using acrylic paint and it washed off so easily.

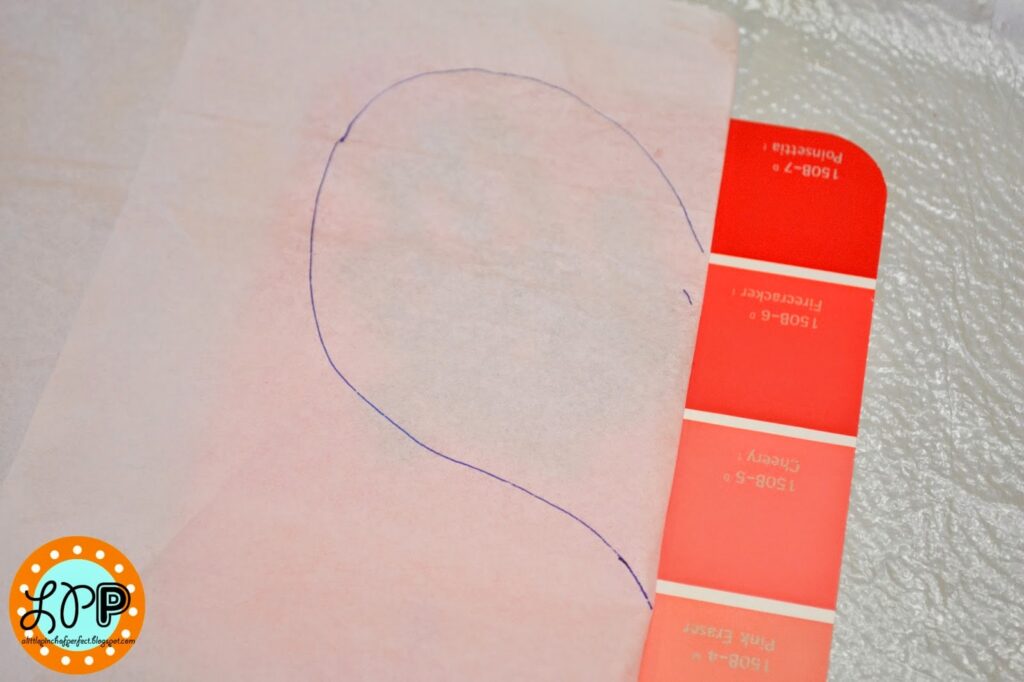
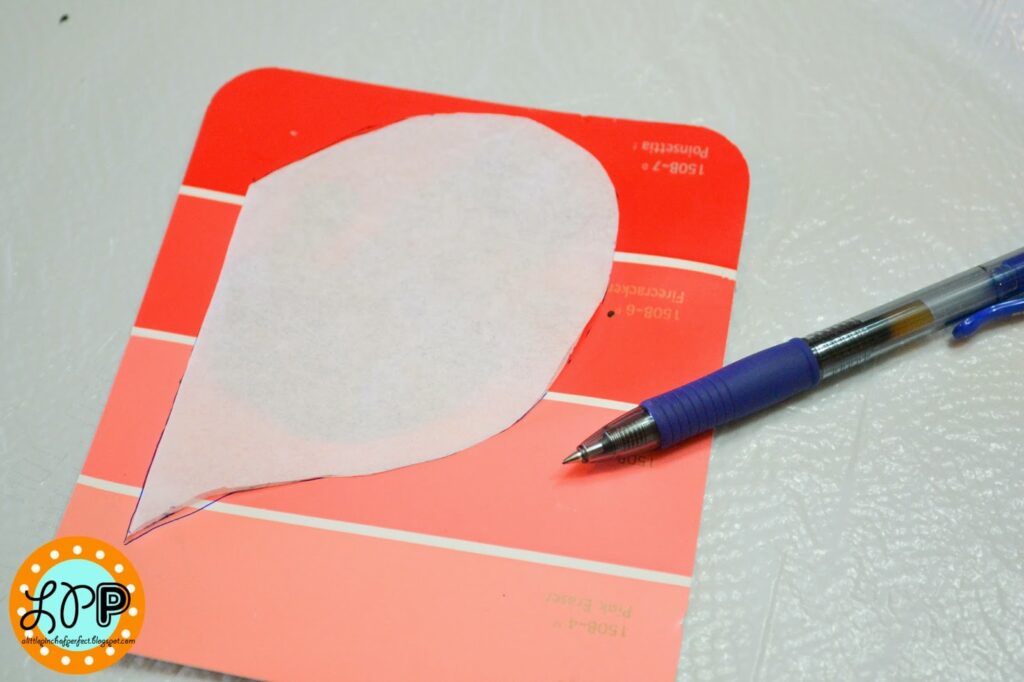
2. Make a heart template. Fold tissue paper in half and put it on top of a hand print with the fold on the thumb side of the hand print. Draw half a heart that is large enough to cover the whole hand. Cut out the tissue paper heart. Open it up and make sure you like the heart shape.
3. Fold the heart template again. Place it on top of one if the handprints and again, make sure the thumb is on the fold side. Trace the heart, then cut it out. Repeat on the other hand print.
4. Place the hand prints on the blank card. Decide where you want your button to be. It should connect the two heart pieces together. Punch one small hole in each heart piece.
5. Thread the pipe cleaner through the button. Then thread each end of the pipe cleaner into one hole on the heart. Inside the card twist the two ends of the pipe cleaner together.
Ms. Tiger had a bit of difficulty doing this, but I reminded her to hold onto the pipe cleaner when threading it in and she eventually got it and was so proud.
If you want to use multiple pairs of hand prints on the same card, just layer the heart pieces on top of each other and follow along as usual.
6. Add a surprise inside your heart by opening the heart pieces and gluing something special inside. There are lots of things you could put inside your heart. Here are some suggestions:
- Photo of kiddo
- Key -“key to my heart”
- Flower
- “Love”
- “Happy Mother’s Day”
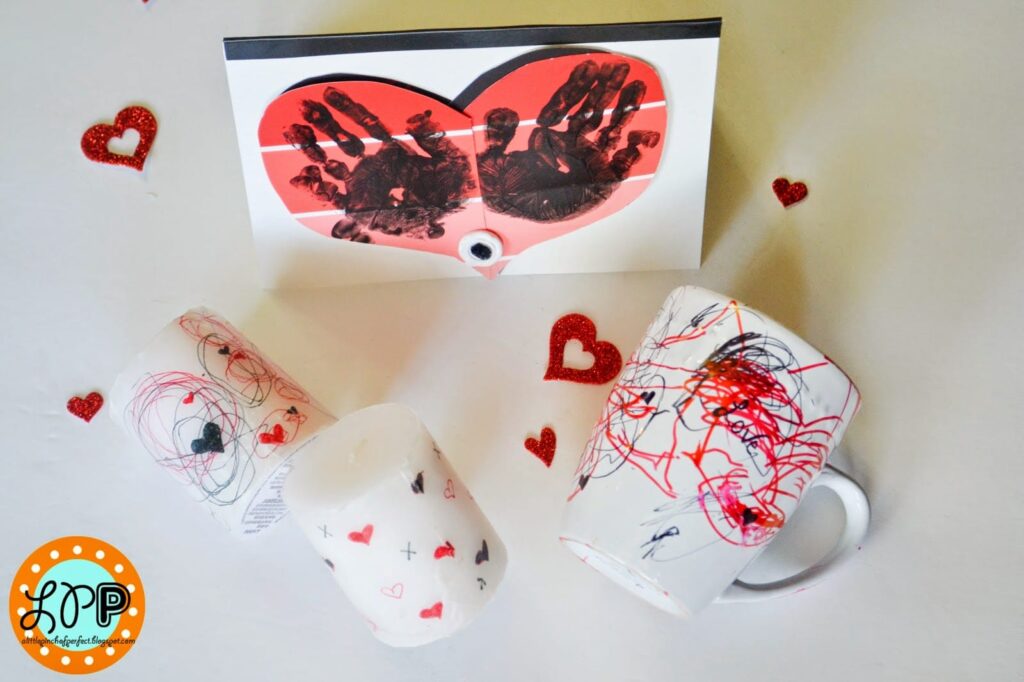 |
| The Mother’s Day Gift Made With Love! |
